
This tutorial shows you how to use the shared whiteboard in ShareCodeLive alongside the code editor. The whiteboard is where you sketch data structures, system designs, and flow diagrams without leaving the coding session. Both you and your collaborator see the same drawing in real time. Every step has a screenshot.
Why a whiteboard next to a code editor?
Most of what is hard in programming is visual before it is textual. A linked list is boxes with arrows. A tree is a tree. A sorting algorithm is a row of values that swaps. When you draw these, you understand them. When you skip the drawing and jump straight to code, you often get lost.
In a remote setting, the whiteboard usually lives in a separate app. You draw in one tab, switch to the code in another, and the connection between the two is in your head. ShareCodeLive puts them in the same window, so the diagram and the code are one glance apart. For more on why this matters, read the teaching coding guide.
Step 1: Open a workspace
Create a workspace from the ShareCodeLive homepage. Once you are in the editor, you see the code area in the center.
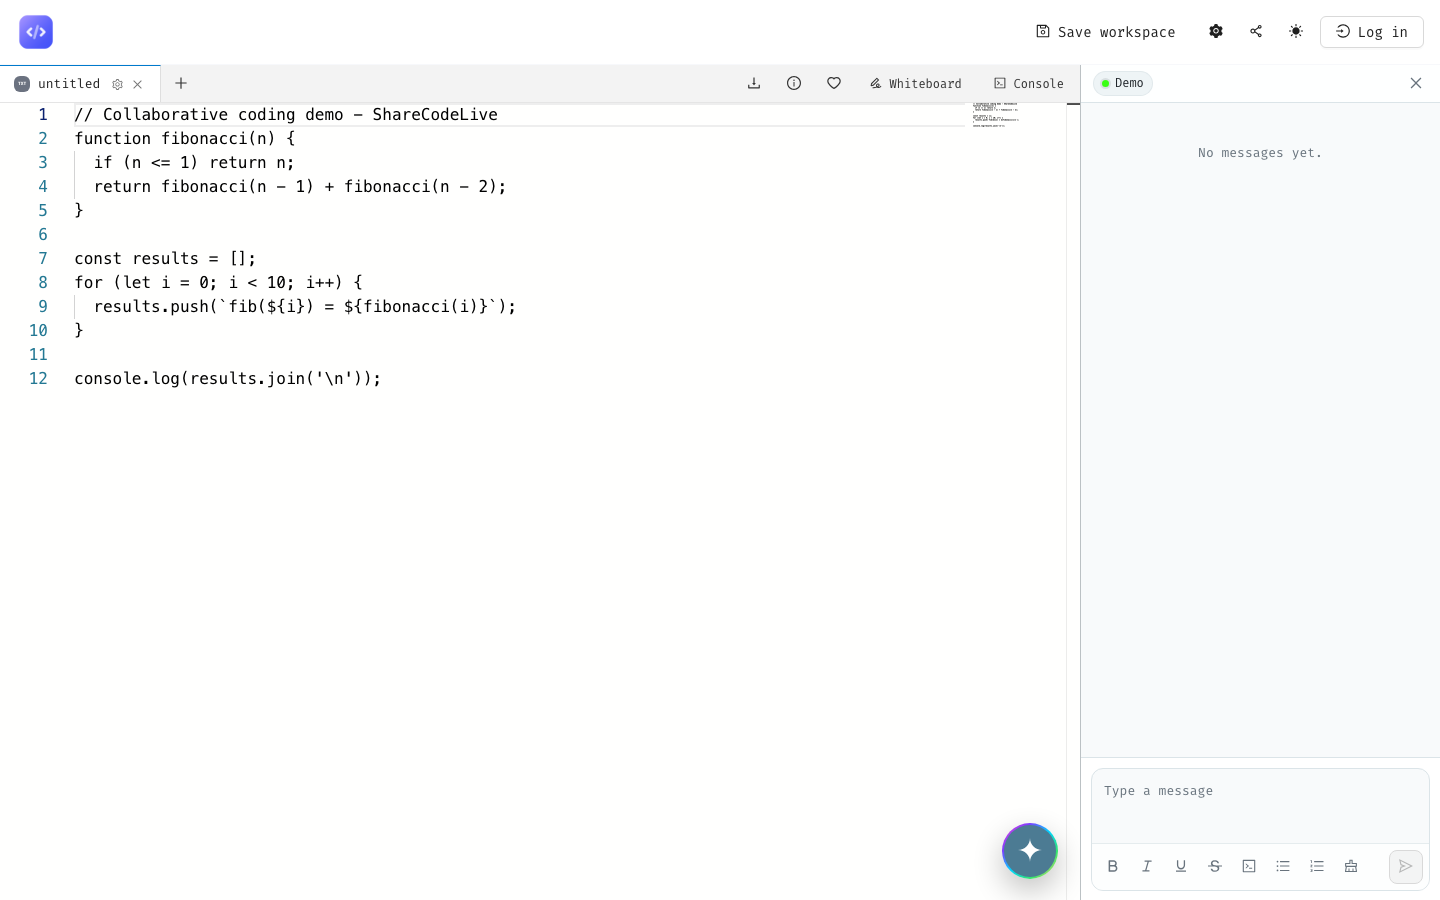
The editor has tabs at the top. One tab is for the code editor, and another is for the whiteboard. You switch between them by clicking the tab.
Step 2: Switch to the whiteboard
Click the "Whiteboard" button at the top of the editor area. The code editor is replaced by an Excalidraw-based drawing surface.
The whiteboard supports freehand drawing, shapes, text, and arrows. You can draw rectangles, circles, lines, and add labels. Everything you draw is synced in real time, so your collaborator sees your strokes as you make them, and you see theirs.
Step 3: Sketch a data structure
For this tutorial, draw a simple linked list. Use rectangles for the nodes and arrows for the pointers.
- Click the rectangle tool and draw three boxes in a row.
- Add a text label inside each box: "A", "B", "C".
- Use the arrow tool to draw arrows from one box to the next.
- Add an arrow from the last box pointing to "null".
Here is what the finished sketch looks like on the ShareCodeLive whiteboard:
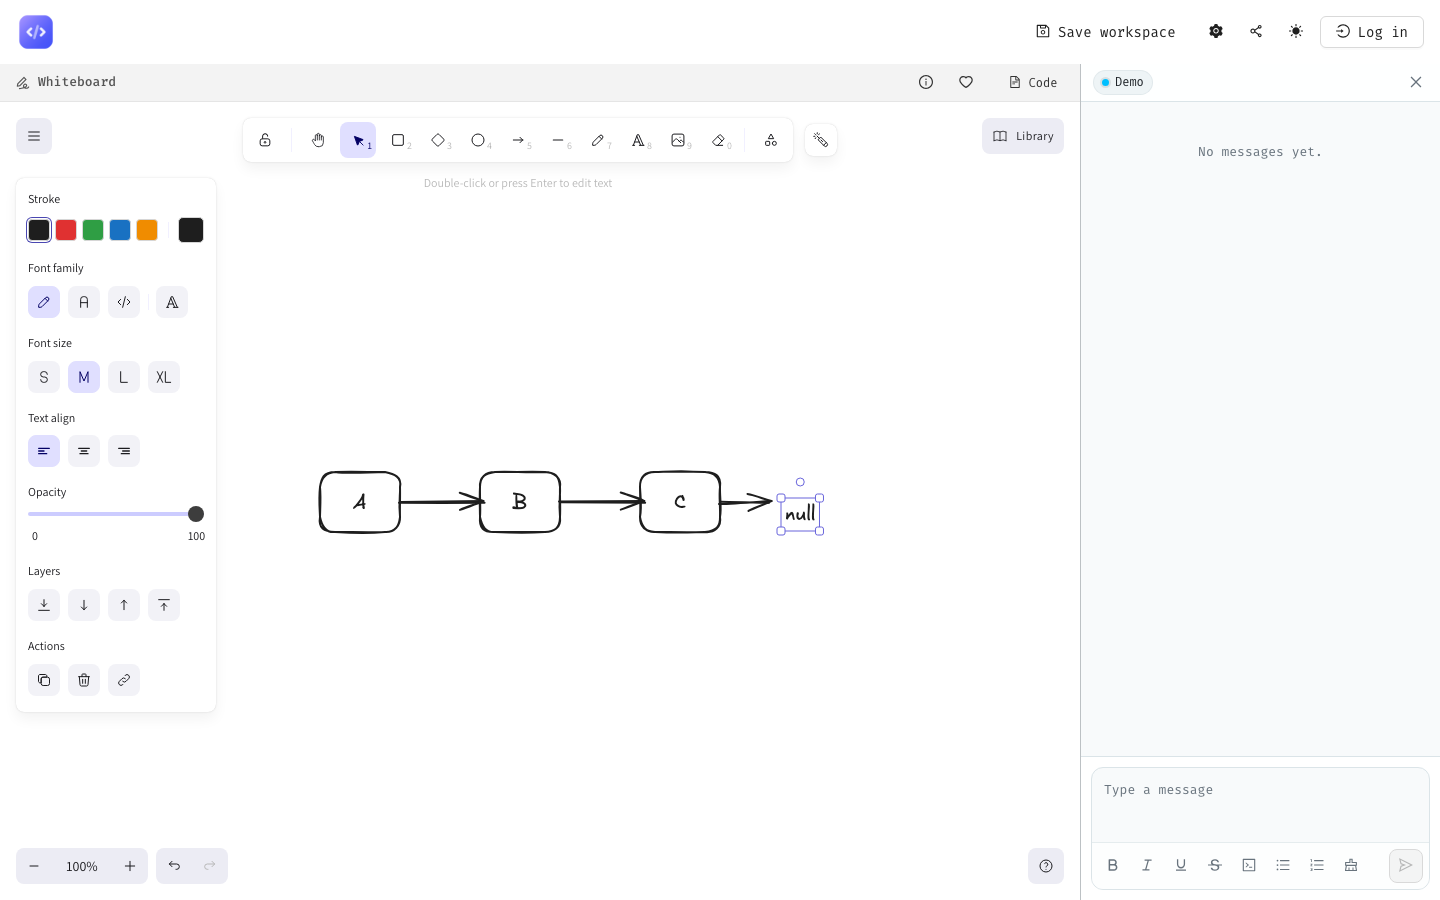
Your collaborator sees the drawing appear as you make each stroke. If they want to fix a label, they can click the text and edit it directly. There is no "pass the marker" step.
Step 4: Switch back to code and implement it
Click the code tab to go back to the editor. Now that the diagram is on the whiteboard, implement the linked list in code:
class Node {
  constructor(value) {
    this.value = value;
    this.next = null;
  }
}

const a = new Node('A');
const b = new Node('B');
const c = new Node('C');

a.next = b;
b.next = c;

// Traverse and print
let current = a;
while (current !== null) {
  console.log(current.value);
  current = current.next;
}
Click run. The console shows:
A
B
C
You can switch back to the whiteboard tab at any point to check the diagram against the code, or to adjust the sketch when the implementation takes a different shape. The two tabs share the same session, so nothing is lost.
Step 5: Use the whiteboard for system design
The whiteboard is not only for data structures. It is also where you sketch system designs. For a system design interview, you draw the components (a load balancer, two API servers, a database, a cache) as boxes, connect them with arrows, and label the data flow. Then you switch to the code tab to implement a piece of it.
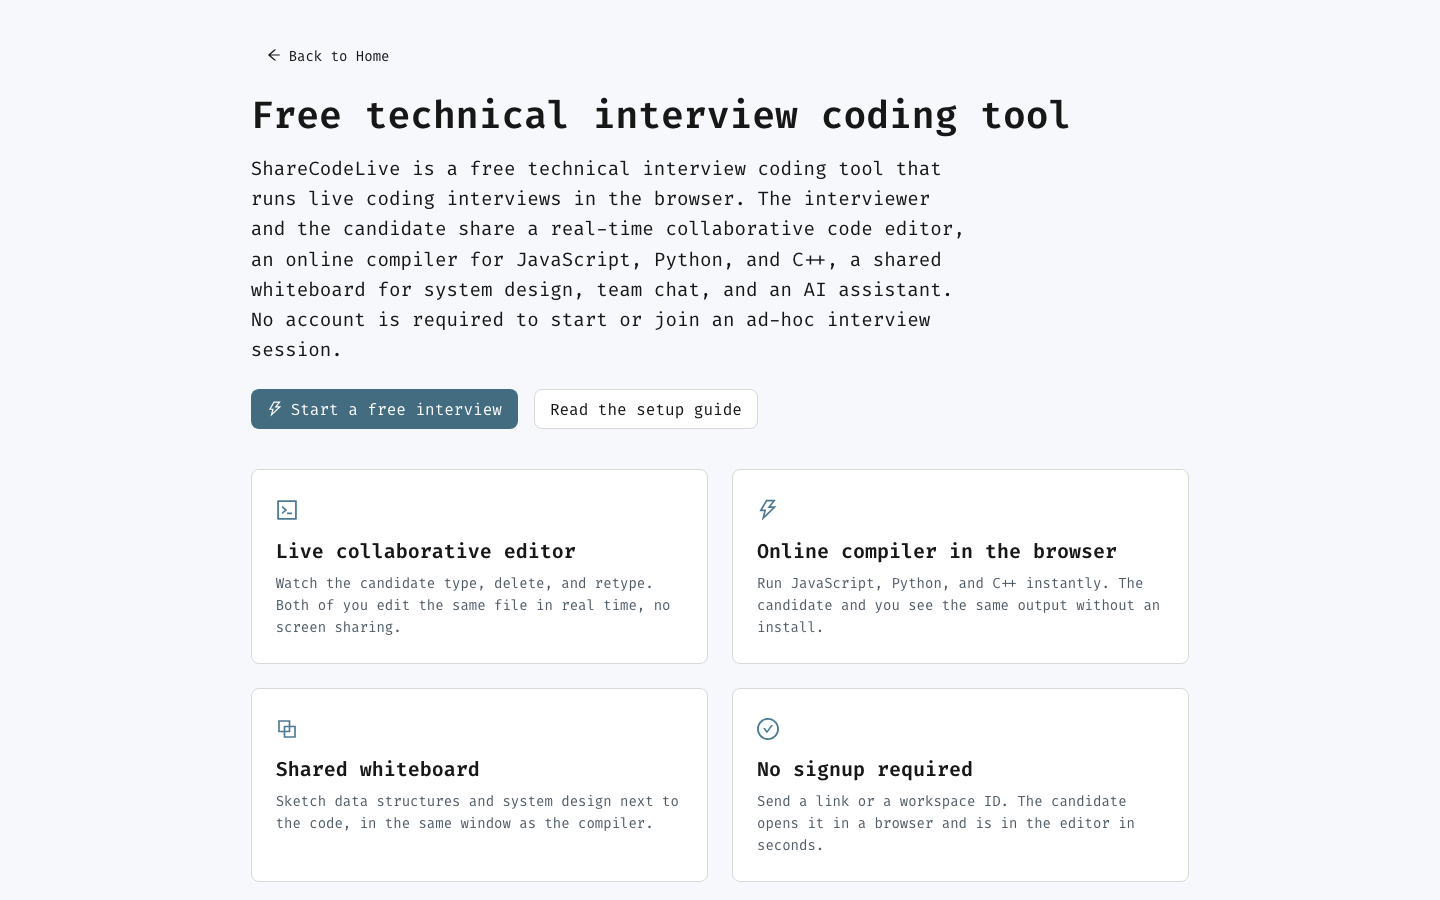
The interviews landing page describes the full setup for running a technical interview with the editor, compiler, and whiteboard together.
Step 6: Use the whiteboard for teaching
If you are teaching, the whiteboard is where a student draws their understanding before they code. Ask the student to sketch how they think a binary search works: draw the array, mark the left and right pointers, show where the midpoint lands. Then switch to the code tab and have them implement it while you watch.
When the student gets the code wrong, you can both go back to the whiteboard and find the gap between the diagram and the implementation. This is far more effective than describing the gap in words alone.
What the whiteboard does not do
The whiteboard is a drawing surface, not a diagramming tool with grid snapping or auto-layout. It is for quick sketches, not for production architecture diagrams. If you need a polished diagram, draw the sketch here to think, then redraw it in a dedicated tool later.
What you have now
You can switch between code and a shared whiteboard in the same session, sketch a design, implement it, and share both with a collaborator in real time. For the broader setup, read the tutorial on starting a collaborative session, and for the compiler, the tutorial on running code in the browser. The pair programming comparison puts ShareCodeLive alongside the alternatives if you are picking a tool for a team.